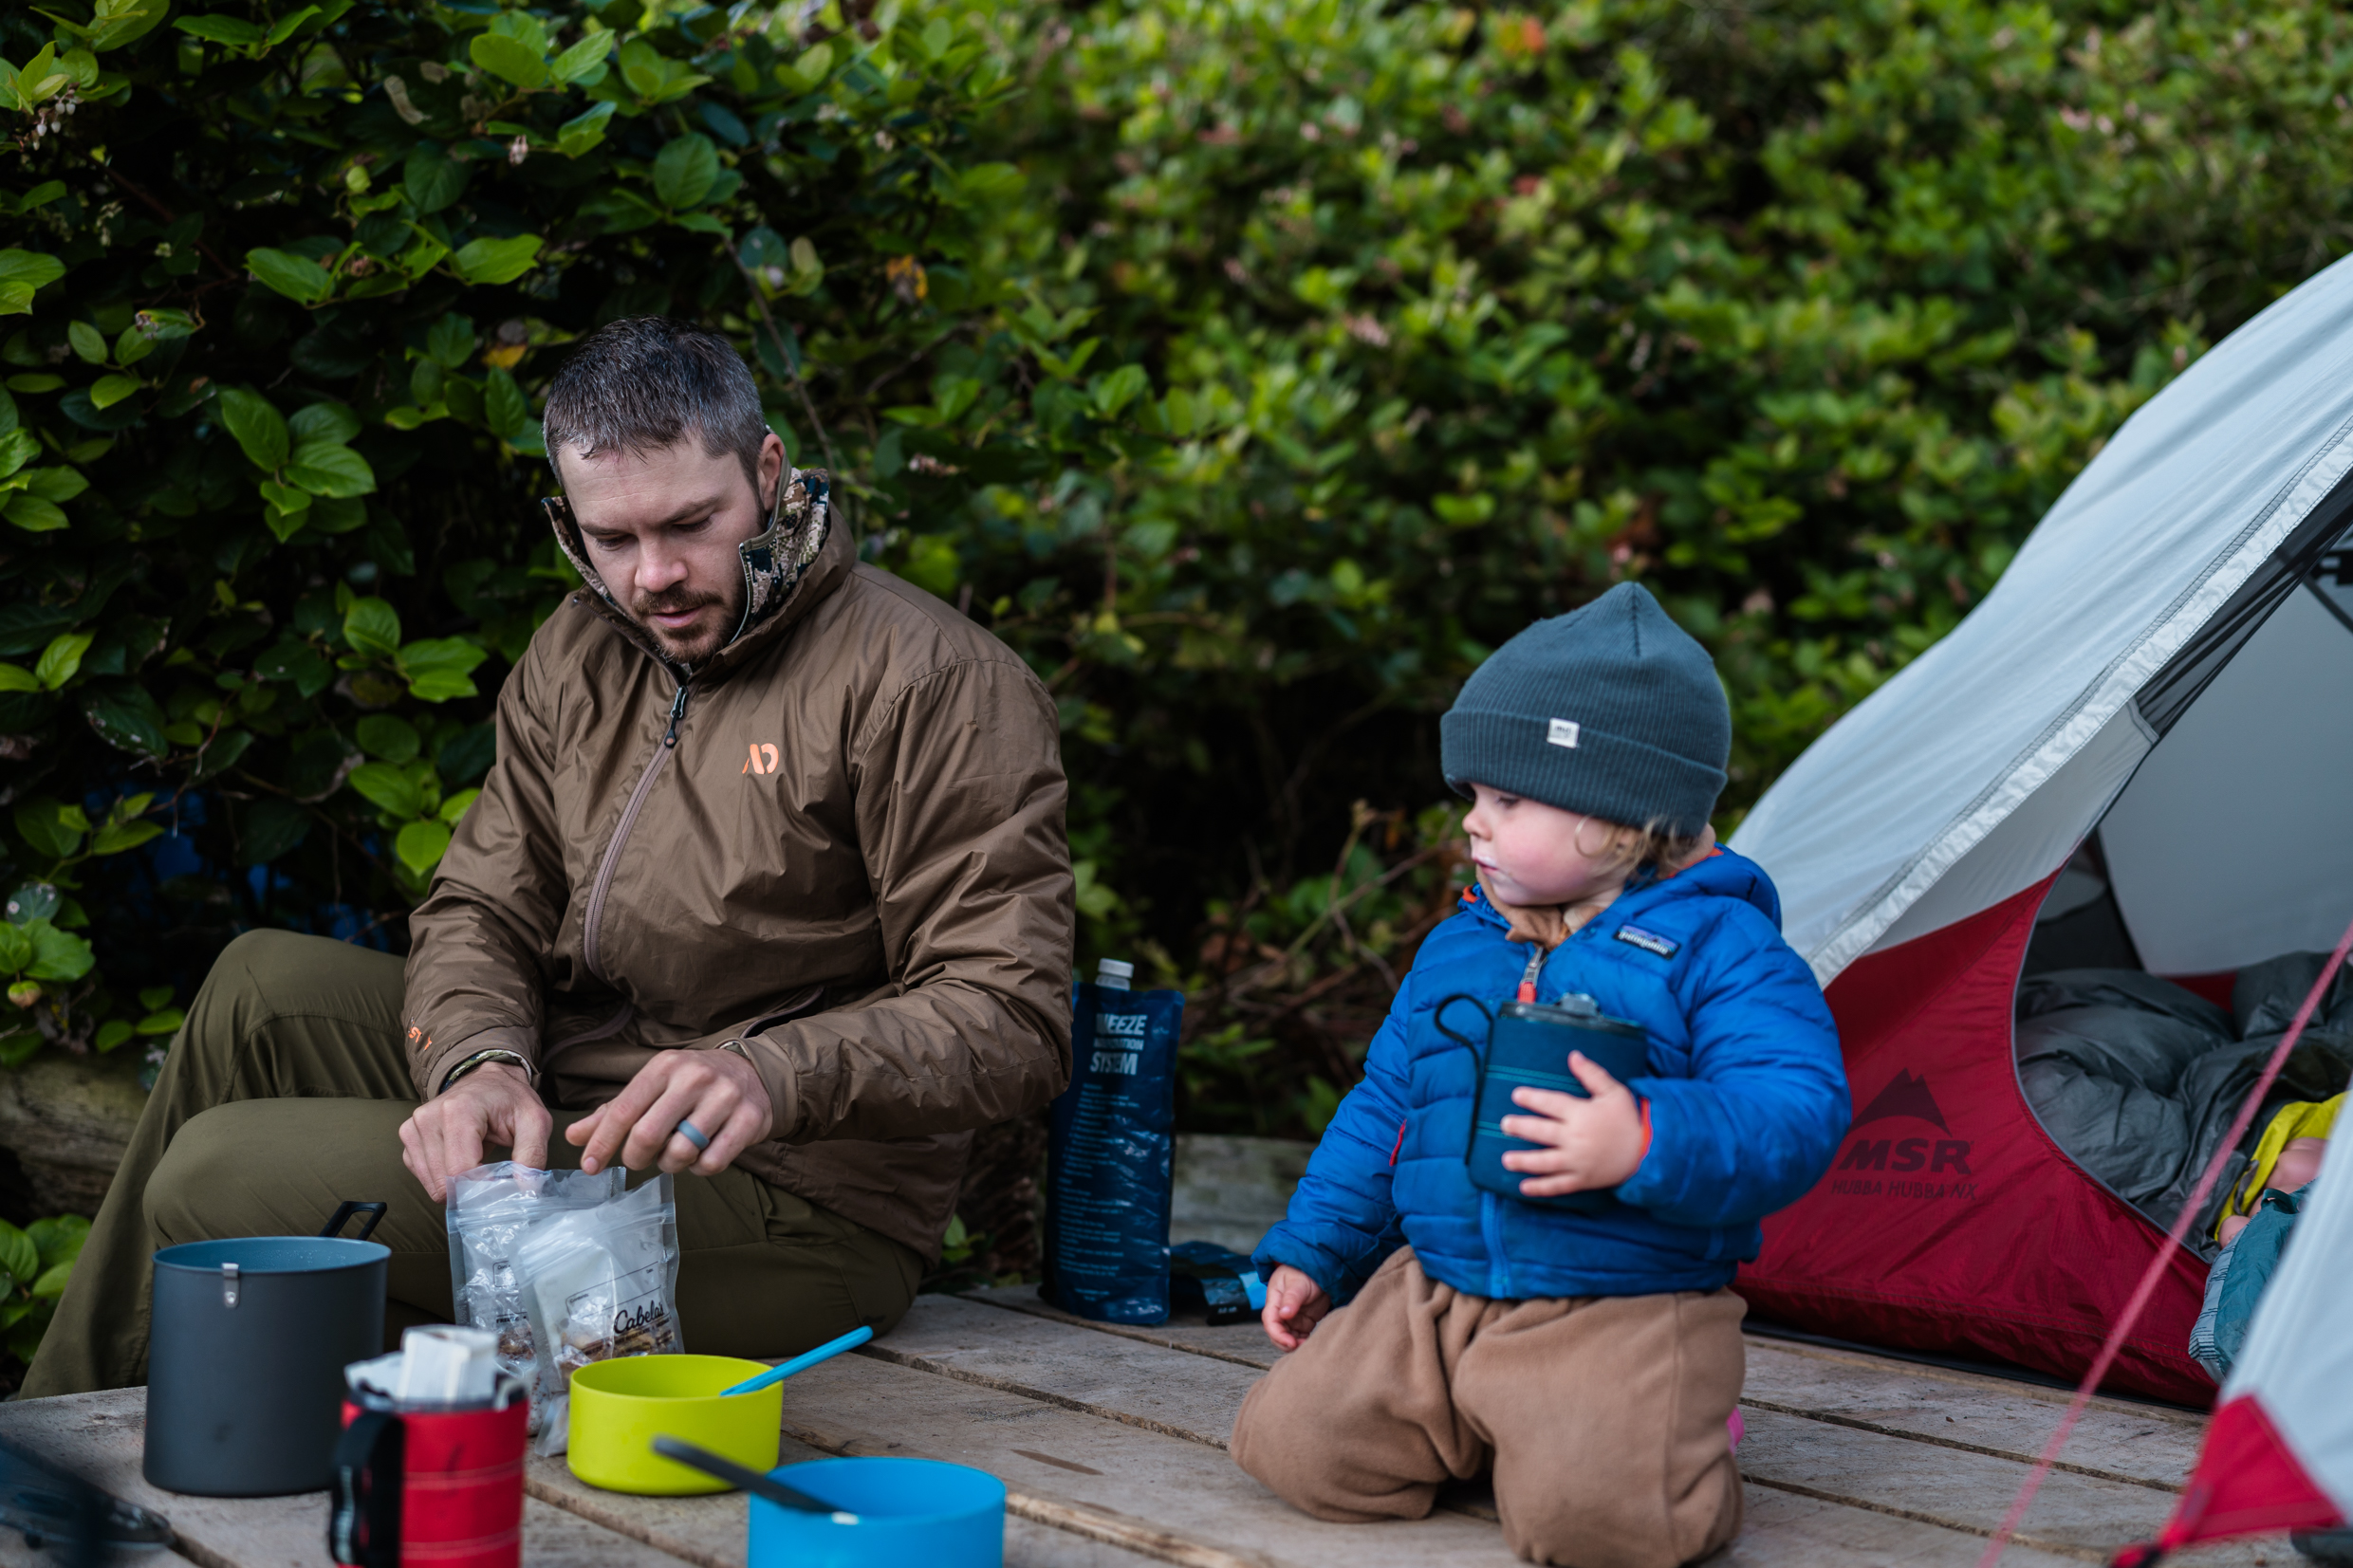
We recently spent 3 nights backpacking on the Juan De Fuca Trail on Vancouver Island, BC. It was incredible. Here is what we brought for food.
Disclaimer: This article contains affiliate links, should you purchase anything from these links I may receive a small percentage commission at zero cost to you. This helps support the blog and allows me to create new content for you all. I will never recommend or link to products that I have not personally used or have experience with.
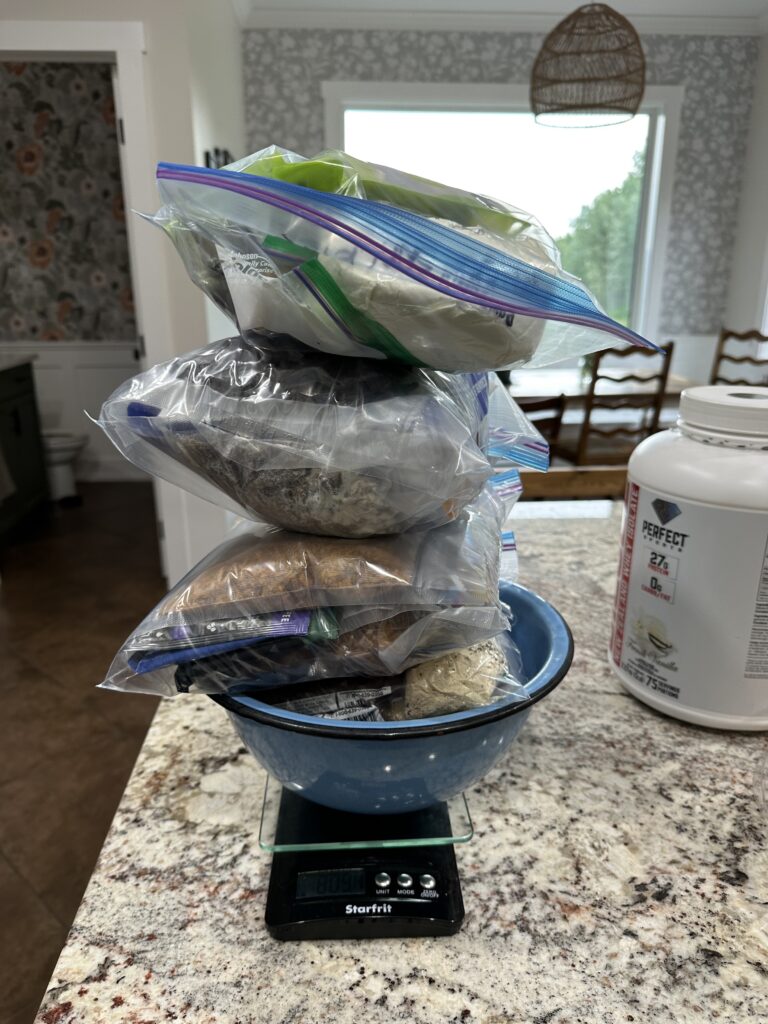
Planning Meals for Backpacking With A Toddler
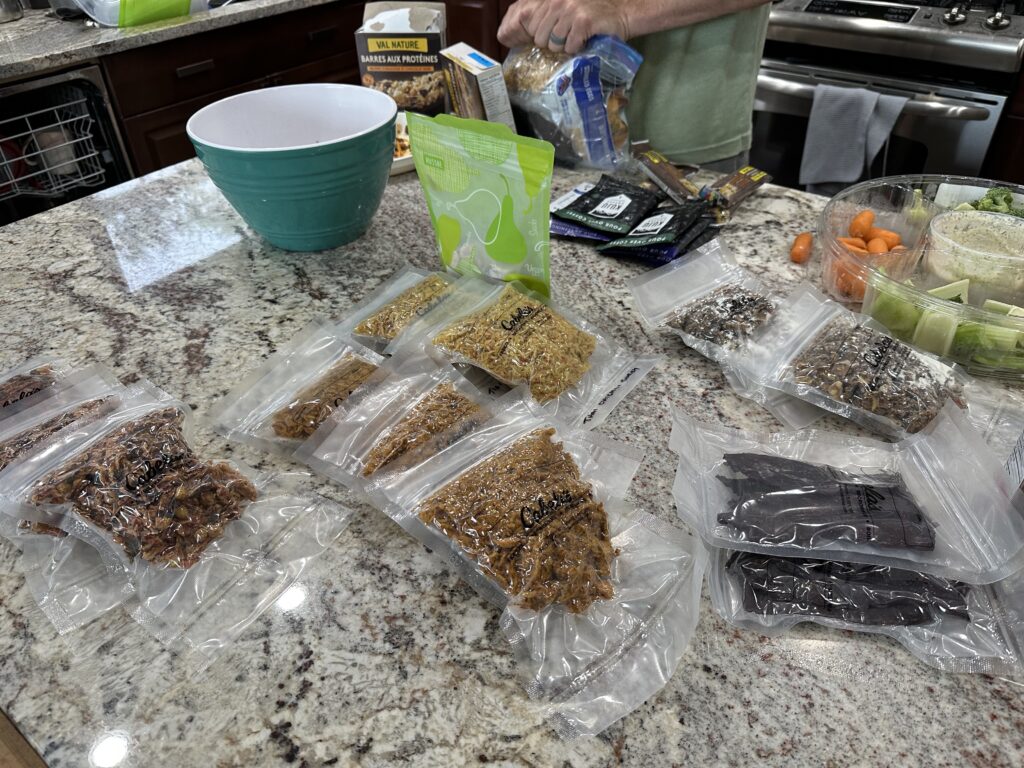
For the past 6 or so years, we have dehydrated most of the food we take when we backpack. For multiple reasons:
- It’s cheaper. As everything gets more and more expensive, so do backpacking meals and as a family of three now, I can’t justify spending $18+ on a pre-made meal.
- Portion sizes are customizable. I tend to not be able to finish the store-bought backpacking meals so that means I usually would have that excess weight to pack out of the stuff I didn’t finish and I would feel pretty wasteful. Because we make our own, we can make larger portion sizes for Reid, small ones for our toddler, and medium sized ones for me. This helps decrease food waste and ensures we all get just the right amounts.
- Taste test before. Toddlers are tricky when it comes to food so I like to make a meal, make sure she will eat it, and then dehydrate the leftovers. Now obviously, she could change her mind but this gives me some peace of mind going in that what we bring, she will eat. We also made sure that she was used to dehydrated milk before we headed out so that she would be okay with drinking that also.
I will note that our meals are slightly heavier than the store-bought freeze dried ones and it just is what it is. I’ll carry some extra weight to have the ability to portion size, bring exactly what we want to eat, and it’s also fun making it. We also live around 45 minutes from the nearest store to buy meals from, so it’s convenient just to make them at home.
Dehydrated Meal Equipment
If you want to get into the dehydrating your own food game, here is some of the equipment that we use and love.
Dehydrator. We use this Cabela’s 80 Litre Commercial-Grade Food Dehydrator. We got it on a smoking deal around 7 years ago so if you don’t want/need something this large – here is a great option for a beginner.
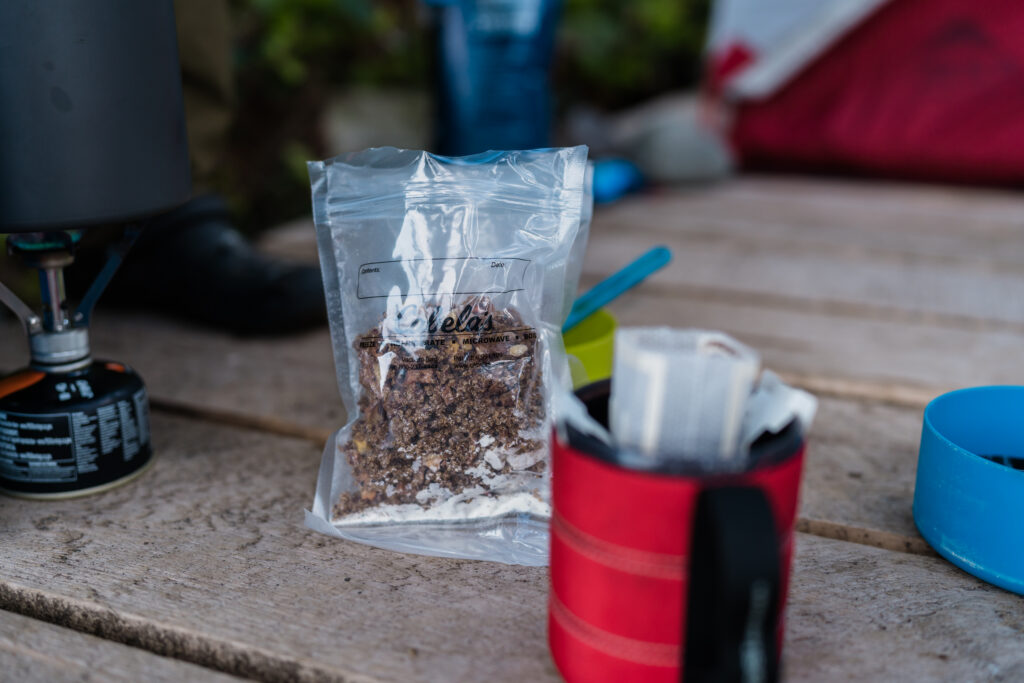
Vacuum Sealer & Bags. We use this Cabela’s 15″ Commercial-Grade Vacuum Sealer. A great beginner option would be this one. For bags, we use the Cabela’s Zipper Vacuum Seal bags. The resealable aspect is a must so that you can reseal the bag once you add the boiling water in to sit and rehydrate your meal and it also works great for snacks like homemade jerky.
Backpacking Stove & Pot. I have had this MSR Pocket Rocket Stove Kit for about 7 years now and it’s great. I love that it comes with everything you need to cook and eat for 2 and it all nestles in the pot so it’s easy to store and carry. The 2-L pot is big enough to boil enough water for all 3 of our dinners or breakfasts and have enough to make coffees with. We also love our JetBoil Flash system, but then you will also need to get spoons, bowls, and mugs separately.
Cutlery. We have a few of these MSR folding forks and I love them, they’re lightweight and they fold down so even though they’re long enough to reach deep inside the food bag they don’t take up a ton of space vertically when you pack them.
Bowls. We usually just have our bowls from the MSR Pocket Rocket Stove Kit I mentioned above, but recently got a Sea To Summit X-Bowl that collapses down which is nice to save on space.
Mugs. I have been obsessed with this GSI Outdoors Infinity Backpacker Mug for years. It’s so lightweight and easy for our toddler to hold onto. She has her milk in this now whenever we camp and I love that it has graduations inside so it makes measuring her water & powdered milk a breeze in the backcountry.
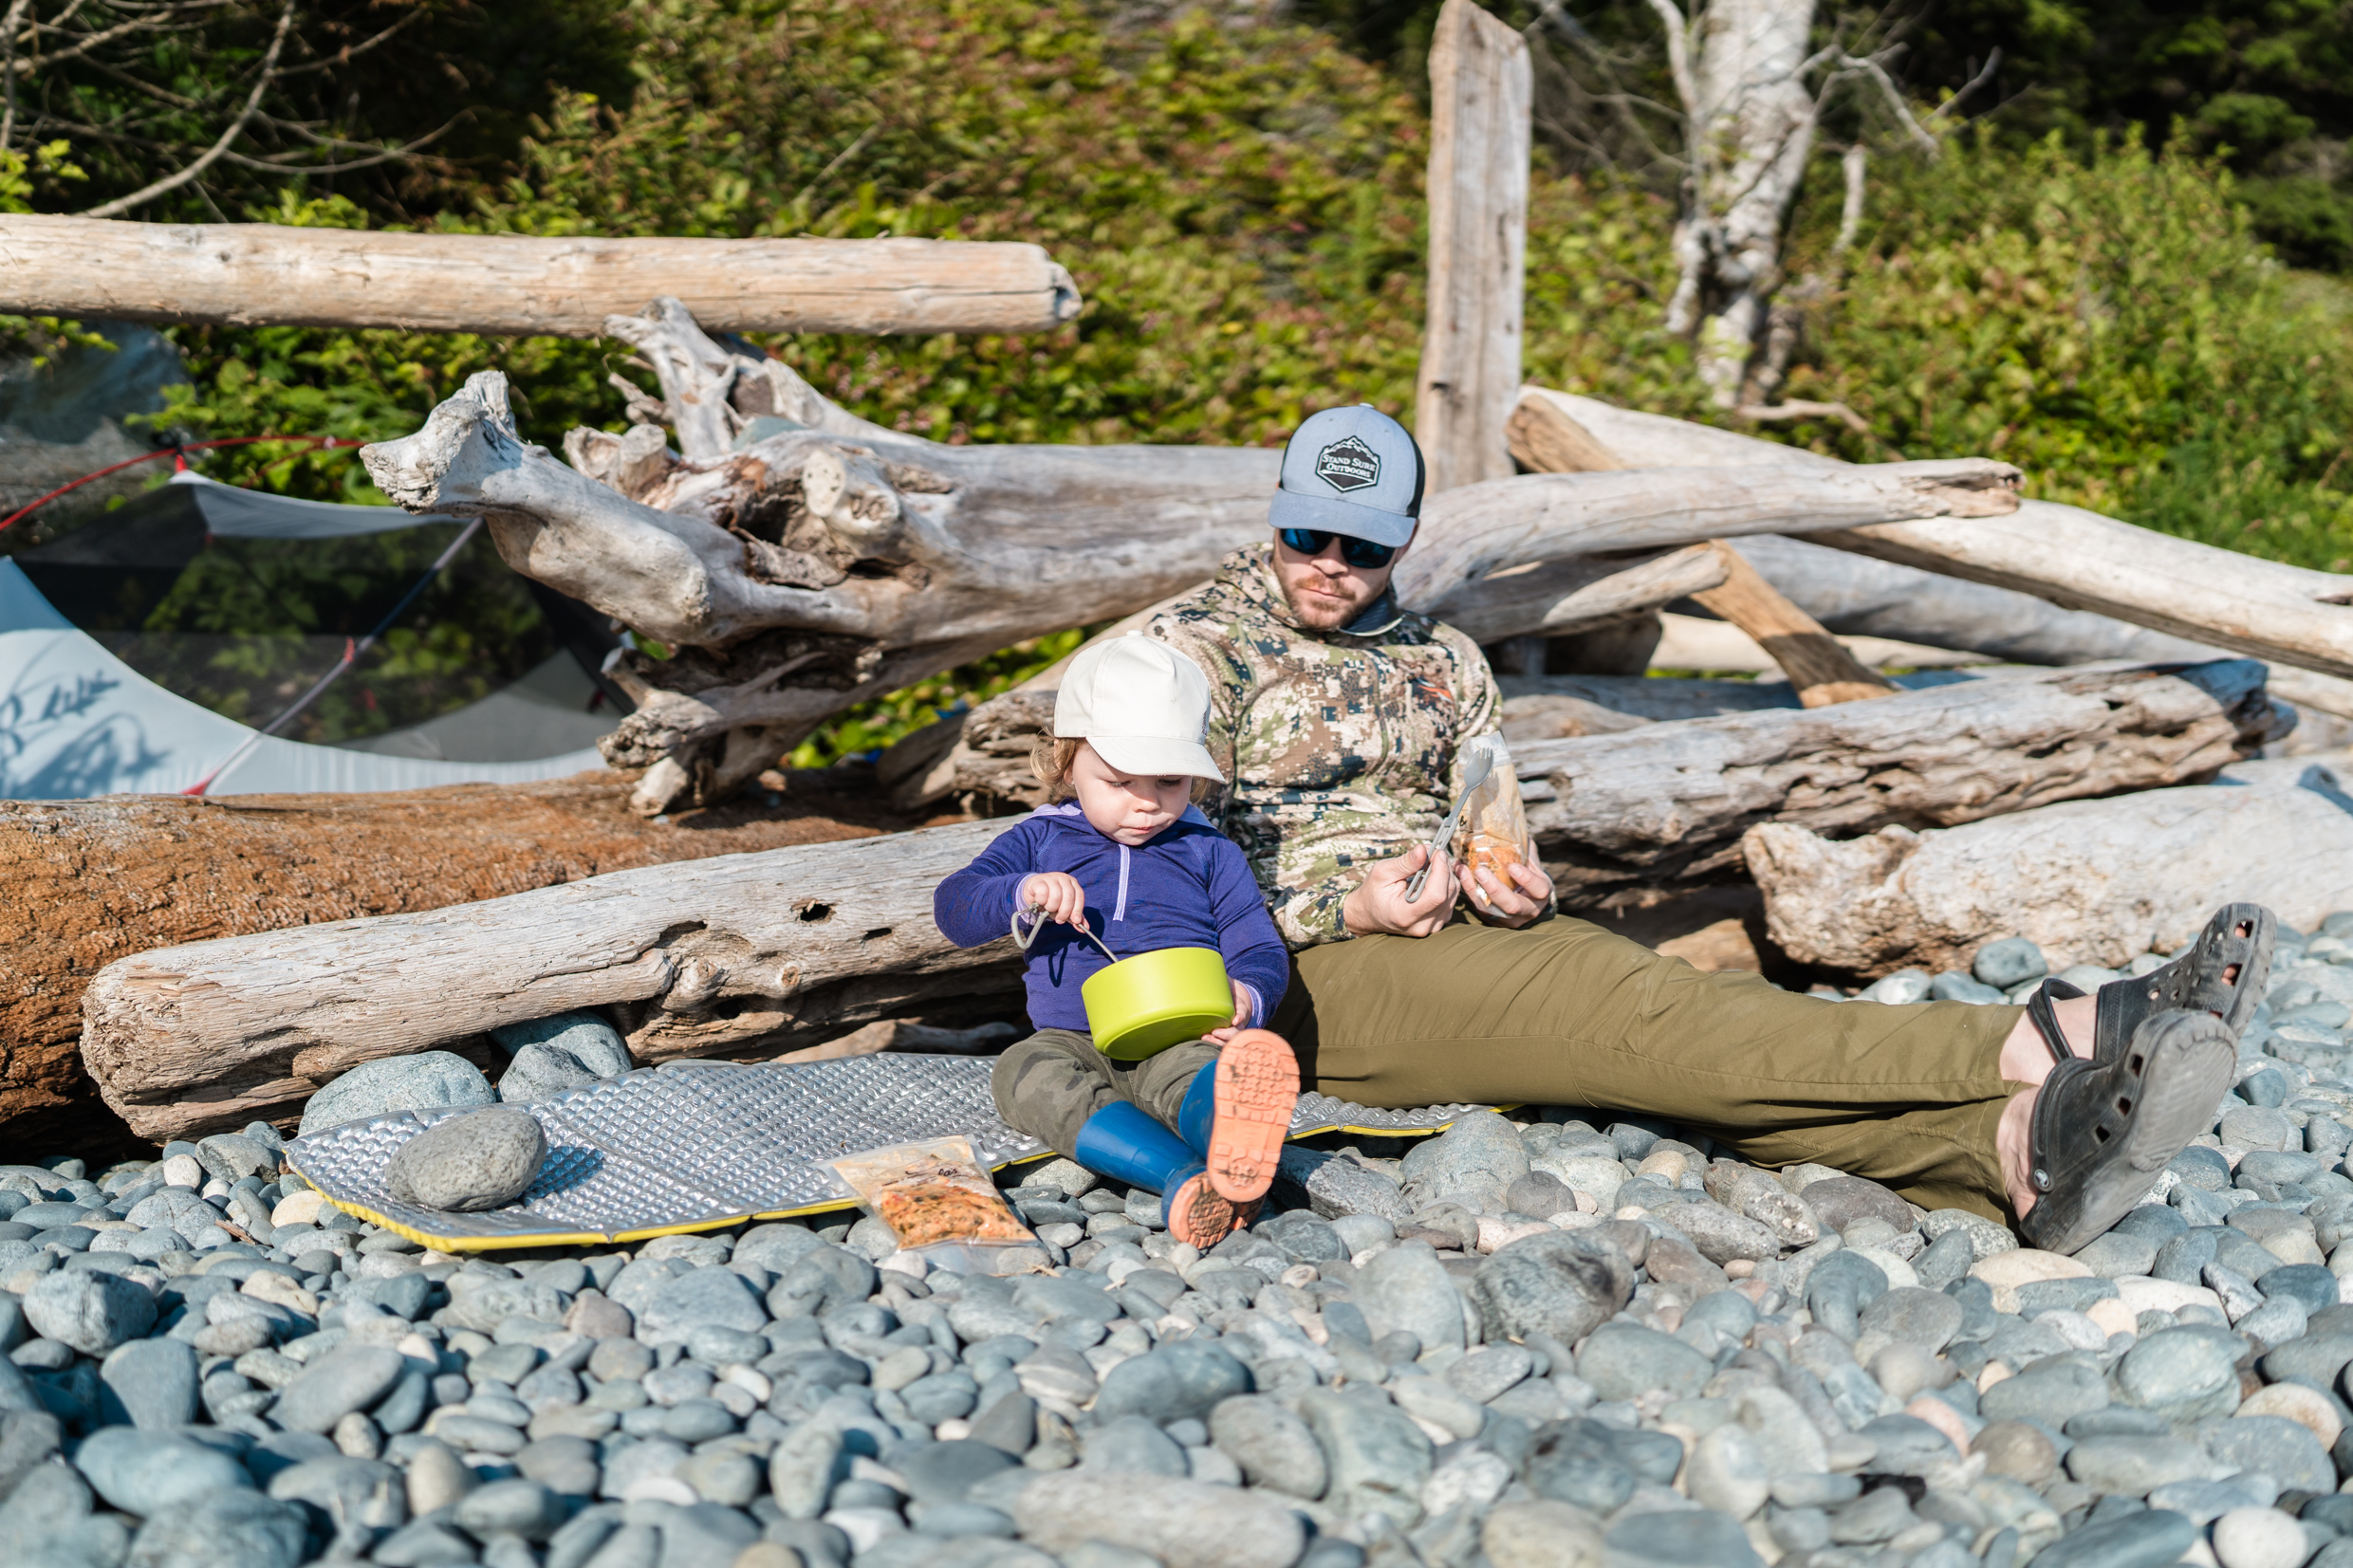
3 Day Backpacking With a Toddler Meal Plan
We hiked in after lunch for the first day, so we will start with snacks and dinner on Day 1.
Day 1:
Snacks: Made with Local Bars – our fave is the Peanut Butter Blondie.
Dinner: Backpacking Sweet Potato & Peanut Stew from Fresh Off The Grid. (we added shredded chicken to the stew before we dehydrated it at home for some extra protein). I thought this was a 10/10 meal. Reid said he would reach for our other meals before this one but he likes to eat pretty simple and I like a bit more flavourful things so that was to be expected.
Day 2:
Breakfast: Dehydrated Apple Cinnamon Quinoa Porridge from Fresh Off The Grid for me, Reid and Aster ate Mountain House Scrambled Eggs with Bacon (2 packages). Aster had a cup of milk (powdered milk mixed with water) and we each had a Kuju coffee.
Snack/Lunch: Made with Local Bars & a package of our homemade Venison Jerky (made with the Cabela’s Jerky Kits – we like the peppered flavour)
Snack: Mixed nuts and homemade dried bananas. Nature Valley Protein Bars.
Dinner: Coconut Thai Chicken Curry (our own recipe linked here).
Day 3:
Breakfast: Dehydrated Apple Cinnamon Quinoa Porridge from Fresh Off The Grid for Reid and I and then Aster had oatmeal (recipe below!) because she wasn’t into the quinoa today. Aster had a cup of milk (powdered milk mixed with water) and we each had a Kuju coffee.
Snack/Lunch: Made with Local Bars & a package of our homemade Venison Jerky.
Snack: Mixed nuts and homemade dried bananas. Nature Valley Protein Bars.
Dinner: Dehydrated Butter Chicken. When we made the Coconut Thai Chicken Curry, we made extra shredded chicken and used it here. At home, we mixed it with rice and a butter chicken sauce from Pinterest and then dehydrated it. It was a huge hit and I’ll put together a legit recipe for it soon. Next time I’ll be fancy and pack in some naan bread.
Day 4:
Breakfast: Oatmeals (recipe below). Aster had a cup of milk (powdered milk mixed with water) and we each had a Kuju coffee.
Snack: Made with Local Bars
We were really happy with what we brought for this trip. We will bring a bit more food next time though because we ate it all and I like to have extras just in case. I would also bring more powdered milk for Aster. I underestimated how much she would want and being that milk is still quite a comfort food for her, I want to have lots for whenever she wants it. Our food ended up weighing 8.5lbs.
Backpacking Oatmeal Recipe:
We like to do these up at home in the small stasher bags and then just add boiling water to them on the trail for a delicious breakfast. We don’t measure these things really, just kind of put in what feels right? Experiment at home first!
- Oats
- Scoop of Diesel Vanilla Protein Powder (for Reid and I, not for Aster’s)
- Chia Seeds
- Ground Flax
- Shredded Coconut
- Dried fruit (cranberries, blueberries, or whatever we have on hand)
- Dehydrated peanut butter
- Powdered milk
We find these have enough calories and protein to fill us up and they really hit the spot, especially on a cold day. You can add whatever you like to this and really make it your own!
As always, let me know if you have any questions about this backpacking meal plan and let me know what your favourite backpacking recipes are!
If you want to get started camping with your baby or toddler but don’t know where to start – check out my Ultimate Guide to Camping With Babies blog!

Add a comment
0 Comments